Renee's Blog

Island Sin Salad
Wickedly delicious! Slightly spicy from the ginger, a little sweet-and-sour from the citrus and honey, with added umiami flavors from garlic and soy sauce. Enjoy this dressing on romaine or butterhead lettuces, fresh spinach leaves, or any favorite salad greens....
Island Sin Salad
Wickedly delicious! Slightly spicy from the ginger, a little sweet-and-sour from the citrus and honey, with added umiami flavors from garlic and soy sauce. Enjoy this dressing on romaine or butterhead lettuces, fresh spinach leaves, or any favorite salad greens....

Pickled Garlic
Grow your own and make this great midnight snack for garlic lovers.
Pickled Garlic
Grow your own and make this great midnight snack for garlic lovers.

Ginger-Lime Cucumber Chips
A deliciously unusual sweet and sour pickle recipe. Make these highly addictive pickles when limes are plentiful – it’s worth the effort! 6 pounds pickling cucumbers (4 to 5 inches long) 2 medium onions, thinly sliced 1/2 cup pickling salt...
Ginger-Lime Cucumber Chips
A deliciously unusual sweet and sour pickle recipe. Make these highly addictive pickles when limes are plentiful – it’s worth the effort! 6 pounds pickling cucumbers (4 to 5 inches long) 2 medium onions, thinly sliced 1/2 cup pickling salt...

Chef Don Tong’s Spicy Eggplant
Fragrant, spicy and delicious! A perfect combination of sweet, hot and salty with the richness of fresh garlic and sesame. This recipe was modeled after one of my all-time favorite Santa Cruz, California restaurants, where Chef Tong made fabulous food...
Chef Don Tong’s Spicy Eggplant
Fragrant, spicy and delicious! A perfect combination of sweet, hot and salty with the richness of fresh garlic and sesame. This recipe was modeled after one of my all-time favorite Santa Cruz, California restaurants, where Chef Tong made fabulous food...
Cantaloupe Salsa
A fresh Caribbean-style salsa: the sweet melon beautifully complements the spicy herb and chiles. 1 Jalapeno chile, seeded 1 shallot 1 scallion, sliced in four pieces 1/2 green bell pepper, cut into pieces 1/3 cup cilantro leaves 1 T mint...
Cantaloupe Salsa
A fresh Caribbean-style salsa: the sweet melon beautifully complements the spicy herb and chiles. 1 Jalapeno chile, seeded 1 shallot 1 scallion, sliced in four pieces 1/2 green bell pepper, cut into pieces 1/3 cup cilantro leaves 1 T mint...
Arugula and Nectarine Salad
Green, tangy arugula contrasts with luscious fresh nectarine slices, all set off by a delicate raspberry vinaigrette. A beautiful presentation and great flavor. You can substitute fresh pears or peaches if nectarines aren't available. Dressing: 3 T raspberry vinegar 1...
Arugula and Nectarine Salad
Green, tangy arugula contrasts with luscious fresh nectarine slices, all set off by a delicate raspberry vinaigrette. A beautiful presentation and great flavor. You can substitute fresh pears or peaches if nectarines aren't available. Dressing: 3 T raspberry vinegar 1...
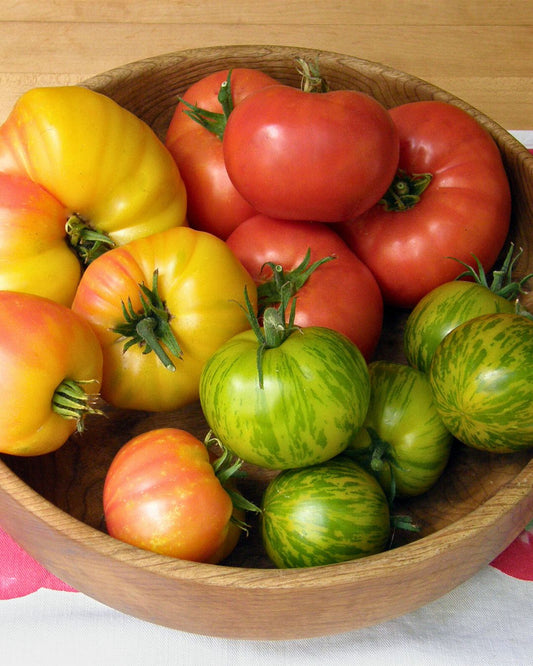
Chunky Green And Red Tomato Sauce
A great way to enjoy the last fruits of the season. 3 T olive oil 4 cloves garlic, minced 2 large onions, chopped 1 1/2 pounds green tomatoes (about 6); coarsely chopped 1 1/2 pounds red tomatoes (about 6); coarsely...
Chunky Green And Red Tomato Sauce
A great way to enjoy the last fruits of the season. 3 T olive oil 4 cloves garlic, minced 2 large onions, chopped 1 1/2 pounds green tomatoes (about 6); coarsely chopped 1 1/2 pounds red tomatoes (about 6); coarsely...

Apple and Green Tomato Pie
This memorably delicious pie is a hands-down winner – not too sweet, but with real texture and body. You'll find it becomes one of your signature recipes and a great way to use end of the season tomatoes. Pastry for...
Apple and Green Tomato Pie
This memorably delicious pie is a hands-down winner – not too sweet, but with real texture and body. You'll find it becomes one of your signature recipes and a great way to use end of the season tomatoes. Pastry for...
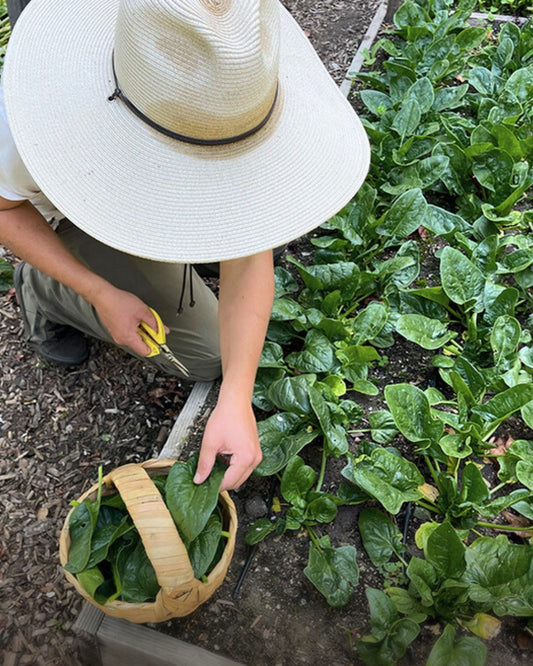
Sesame Spinach
Subtle seasonings are perfect with fresh spinach and the sesame finishes the dish. 1 T soy sauce 1 tsp sesame oil 1/2 tsp sugar 2 T peanut oil 2 cloves garlic, finely chopped 2 tsp freshly grated ginger 6 scallions,...
Sesame Spinach
Subtle seasonings are perfect with fresh spinach and the sesame finishes the dish. 1 T soy sauce 1 tsp sesame oil 1/2 tsp sugar 2 T peanut oil 2 cloves garlic, finely chopped 2 tsp freshly grated ginger 6 scallions,...

Mexican Onion Soup
Similar to French onion soup but with Mexican flavors. A rich tasting, satisfying whole meal soup. 2 T olive oil 1 T butter 3 cloves garlic, minced 6 cups sliced onions 1 T flour 1/2 tsp ground cumin 2 Anaheim...
Mexican Onion Soup
Similar to French onion soup but with Mexican flavors. A rich tasting, satisfying whole meal soup. 2 T olive oil 1 T butter 3 cloves garlic, minced 6 cups sliced onions 1 T flour 1/2 tsp ground cumin 2 Anaheim...

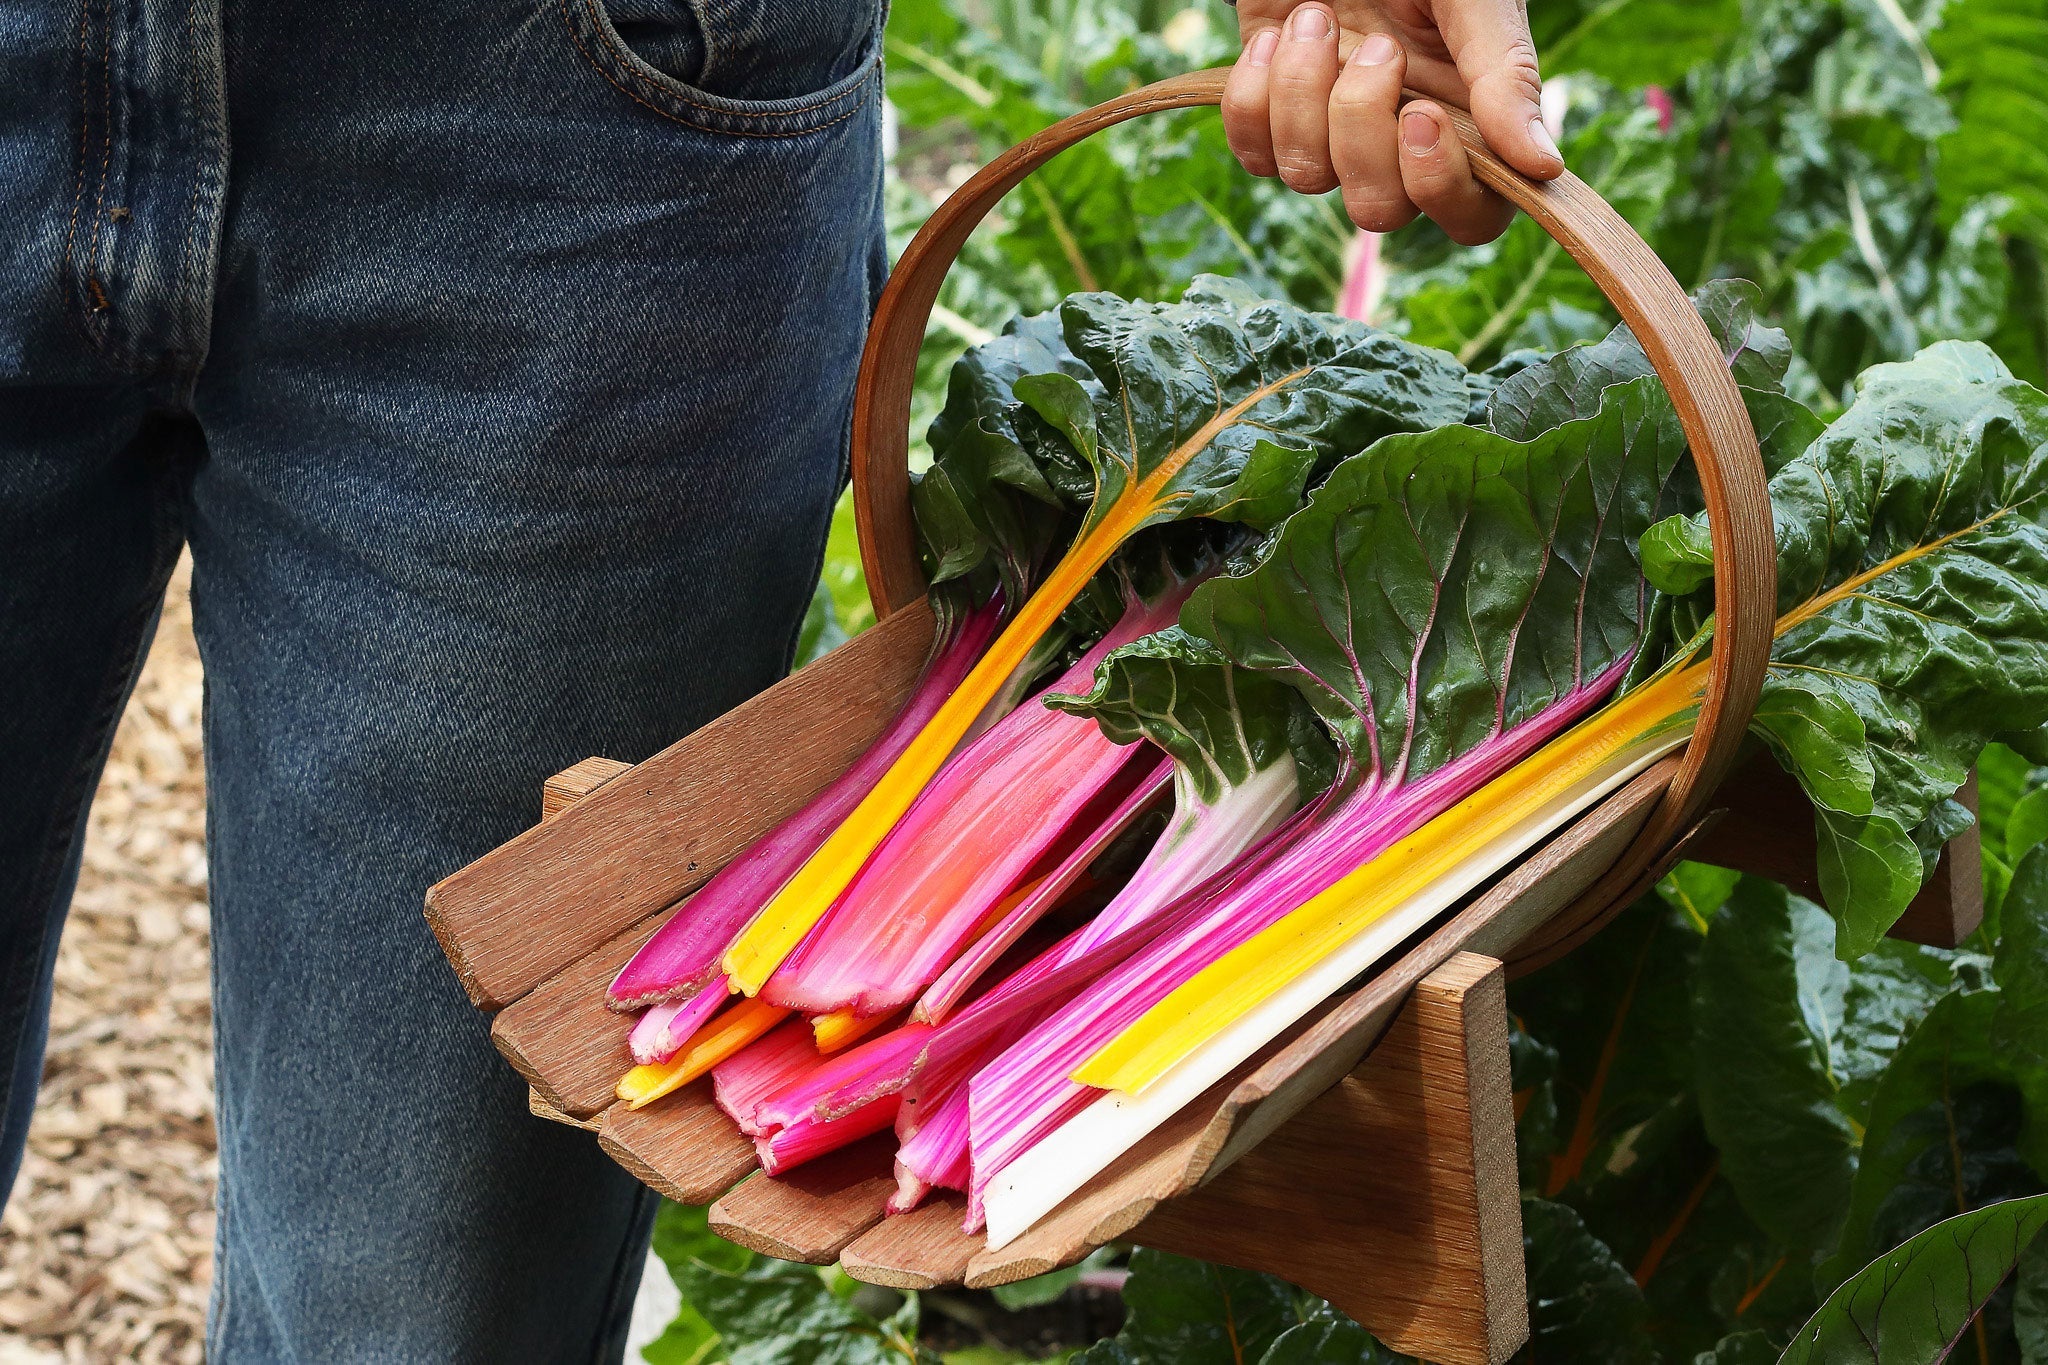
Chard and Potato Soup
A hearty but not heavy soup, perfect for cold wet days. 4 medium potatoes, peeled, sliced 1/4 inch thick 1 bunch chard, coarse stems removed, shredded in thin strips (about 6 cups) 2 ounces prosciutto, chopped 6 cups chicken stock...
Chard and Potato Soup
A hearty but not heavy soup, perfect for cold wet days. 4 medium potatoes, peeled, sliced 1/4 inch thick 1 bunch chard, coarse stems removed, shredded in thin strips (about 6 cups) 2 ounces prosciutto, chopped 6 cups chicken stock...
Leek, Mushroom And Chicken Soup With Peas and Thyme
2 T olive oil 3 cloves garlic, minced 4 leeks, white part, coarsely chopped 1/2 pound brown mushrooms, quartered 3 cups chopped fresh tomatoes 8 cups chicken stock 3 T fresh lemon juice 2 T plus 1 teaspoon chopped thyme...
Leek, Mushroom And Chicken Soup With Peas and Thyme
2 T olive oil 3 cloves garlic, minced 4 leeks, white part, coarsely chopped 1/2 pound brown mushrooms, quartered 3 cups chopped fresh tomatoes 8 cups chicken stock 3 T fresh lemon juice 2 T plus 1 teaspoon chopped thyme...

Perfect Green Goddess Dressing
Deliciously creamy and full flavored, this dressing really compliments crispy lettuces. Add some cooked chicken or fish and you’ve got a wonderful meal. 2 cloves garlic, chopped 1/2 of the anchovy fillets (4-5) from a standard 2 ounce can, drain...
Perfect Green Goddess Dressing
Deliciously creamy and full flavored, this dressing really compliments crispy lettuces. Add some cooked chicken or fish and you’ve got a wonderful meal. 2 cloves garlic, chopped 1/2 of the anchovy fillets (4-5) from a standard 2 ounce can, drain...

Orange-Calendula Drop Cookies
Sunny yellow and bright orange calendula petals add pretty colors to these easy to make, fresh orange flavored drop cookies. 6 to 8 fresh calendula blossoms ½ cup butter, at room temperature ½ cup white sugar Grated zest of 2...
Orange-Calendula Drop Cookies
Sunny yellow and bright orange calendula petals add pretty colors to these easy to make, fresh orange flavored drop cookies. 6 to 8 fresh calendula blossoms ½ cup butter, at room temperature ½ cup white sugar Grated zest of 2...

Irresistible Saffron Shortbread
Buttery, crumbly, rich, and not too sweet, this delicious golden shortbread is lightly infused with subtle saffron flavor. A wonderful indulgence to enjoy with a cup of your favorite coffee or tea.
Irresistible Saffron Shortbread
Buttery, crumbly, rich, and not too sweet, this delicious golden shortbread is lightly infused with subtle saffron flavor. A wonderful indulgence to enjoy with a cup of your favorite coffee or tea.
When to Plant Our Seeds
When to plant Renee's Garden seeds in early spring, early summer, mid-summer and what to start indoors.
When to Plant Our Seeds
When to plant Renee's Garden seeds in early spring, early summer, mid-summer and what to start indoors.
Chocolate Chip Carrot Cake
An irresistible cake; be prepared to share this recipe! 1 cup unsalted butter, at room temperature 2 cups sugar 3 eggs 2 1/2 cups all purpose flour 1 tsp baking soda 1 tsp cinnamon 1/2 tsp nutmeg 1/2 tsp allspice...
Chocolate Chip Carrot Cake
An irresistible cake; be prepared to share this recipe! 1 cup unsalted butter, at room temperature 2 cups sugar 3 eggs 2 1/2 cups all purpose flour 1 tsp baking soda 1 tsp cinnamon 1/2 tsp nutmeg 1/2 tsp allspice...
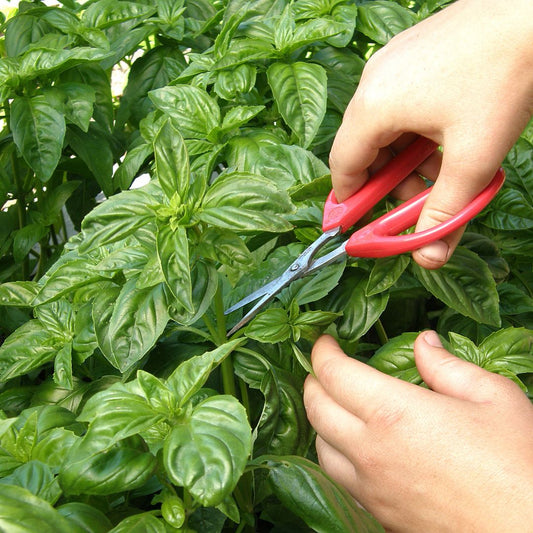
Pesto Salad Dressing
This basil classic is great tossed with green salads, drizzled over a plate of fresh sliced tomatoes, on fresh roasted crusty bread, or over hot fluffy baked potatoes. 1 1/2 cups loosely packed fresh basil leaves 1/2 cup loosely packed...
Pesto Salad Dressing
This basil classic is great tossed with green salads, drizzled over a plate of fresh sliced tomatoes, on fresh roasted crusty bread, or over hot fluffy baked potatoes. 1 1/2 cups loosely packed fresh basil leaves 1/2 cup loosely packed...
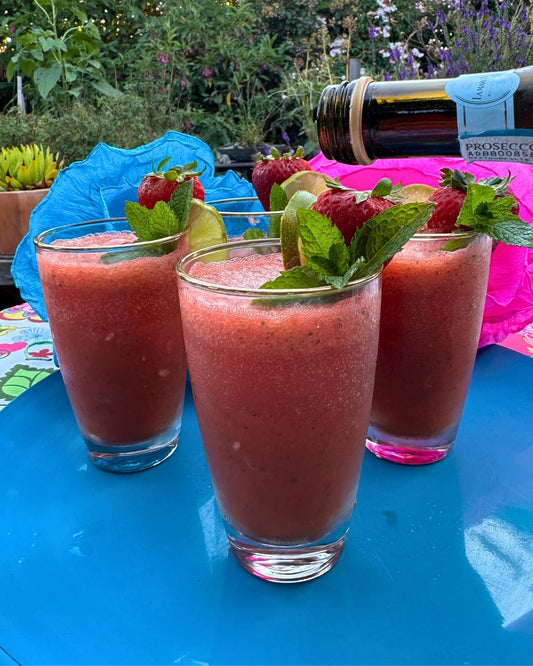
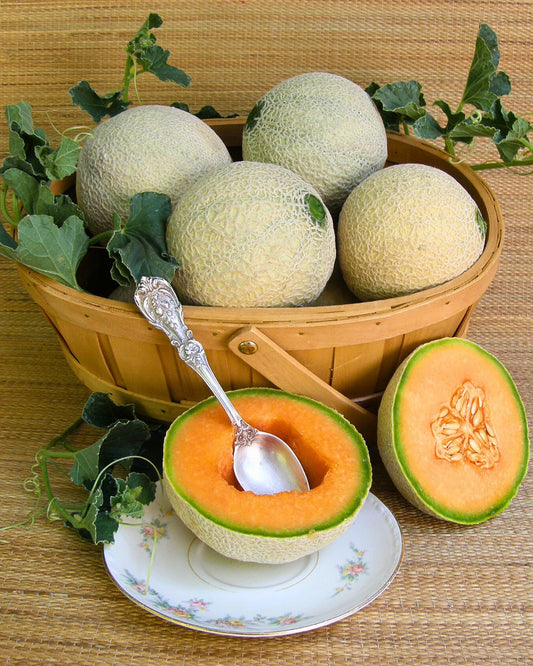
Melon Blush Cooler
This thick, icy, fruity drink is wonderfully refreshing when summer heat comes on strong. 1/3 cup sugar 1/4 cup fresh mint leaves 1 small sized ripe melon/watermelon, peeled, seeded, cubed; enough to make 3 cups 1 cup freshly squeezed orange...
Melon Blush Cooler
This thick, icy, fruity drink is wonderfully refreshing when summer heat comes on strong. 1/3 cup sugar 1/4 cup fresh mint leaves 1 small sized ripe melon/watermelon, peeled, seeded, cubed; enough to make 3 cups 1 cup freshly squeezed orange...
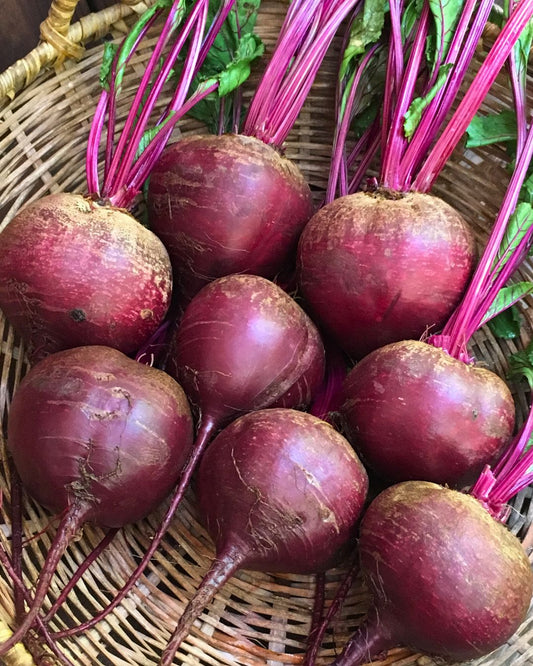
Beet and Green Apple Salad
A crisp and absolutely beautiful salad that came to us from a wonderful young friend who cooks from the garden for twelve hungry organic farmers every day! 5 to 6 medium to large beets (about 1 1/2 pounds) 1/2 small...
Beet and Green Apple Salad
A crisp and absolutely beautiful salad that came to us from a wonderful young friend who cooks from the garden for twelve hungry organic farmers every day! 5 to 6 medium to large beets (about 1 1/2 pounds) 1/2 small...
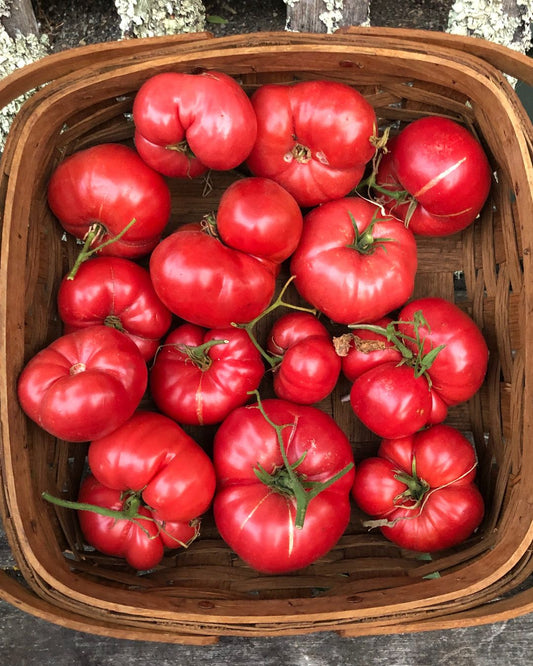
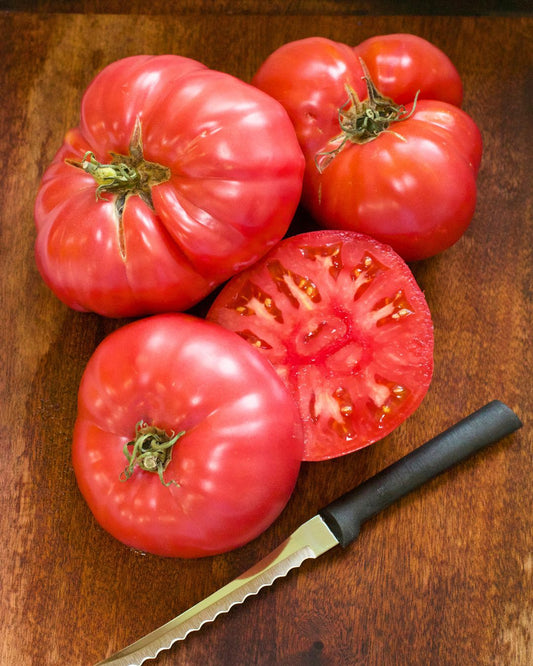
Tomato Types: Determinate, Semi-Indeterminate or Indeterminate?
Tomato Vines Have Several Growth Habits: Indeterminate tomato vines continue to grow and produce fruit throughout the growing season until killed by frost or cold, wet weather. They require sturdy, tall stakes or cages for support.
Tomato Types: Determinate, Semi-Indeterminate or Indeterminate?
Tomato Vines Have Several Growth Habits: Indeterminate tomato vines continue to grow and produce fruit throughout the growing season until killed by frost or cold, wet weather. They require sturdy, tall stakes or cages for support.
Orange Poppy Seed Cake
Plant poppies soon so you can harvest aromatic fresh poppy seed to make and enjoy this moist and delicious cake. Perfect with tea or coffee for an afternoon break or lunch box snack.Cake Ingredients: 1 cup flour, sifted 1 tsp...
Orange Poppy Seed Cake
Plant poppies soon so you can harvest aromatic fresh poppy seed to make and enjoy this moist and delicious cake. Perfect with tea or coffee for an afternoon break or lunch box snack.Cake Ingredients: 1 cup flour, sifted 1 tsp...

Asparagus With Sesame-Ginger Vinaigrette
A simple but elegant marriage of ginger and sesame with poached asparagus.1 pound asparagus, trimmedDressing 1 tablespoon toasted sesame seeds 1 small clove garlic 1 teaspoon grated fresh ginger 2 tablespoons rice vinegar 2 tablespoons orange juice 2 teaspoons soy...

Lavender Shortbread
These rich but not too sweet shortbread cookies have just a hint of sweet lavender fragrance and flavor. They are perfect to serve with tea, milk or lemonade. I make several batches to divide up and tuck into pretty decorative...
Lavender Shortbread
These rich but not too sweet shortbread cookies have just a hint of sweet lavender fragrance and flavor. They are perfect to serve with tea, milk or lemonade. I make several batches to divide up and tuck into pretty decorative...
Pizza Santa Fe Style
All the Southwestern flavors in a beautiful quick-to-fix summer pizza treat. One 12 inch pizza crust, ready to bake Sauce: 1 1/2 cups lightly packed cilantro leaves 1/2 cups lightly packed parsley leaves 2 cloves garlic 1 jalapeño chile, halved...
Pizza Santa Fe Style
All the Southwestern flavors in a beautiful quick-to-fix summer pizza treat. One 12 inch pizza crust, ready to bake Sauce: 1 1/2 cups lightly packed cilantro leaves 1/2 cups lightly packed parsley leaves 2 cloves garlic 1 jalapeño chile, halved...
Pumpkin Cobbler
Everyone who tries this delicious dessert likes it better than ordinary pumpkin pie. The crust mixture rises to the top during baking to form a rich topping.Filling: 2 eggs, beaten 1 cup evaporated milk 3 cups cooked mashed pumpkin or...
Pumpkin Cobbler
Everyone who tries this delicious dessert likes it better than ordinary pumpkin pie. The crust mixture rises to the top during baking to form a rich topping.Filling: 2 eggs, beaten 1 cup evaporated milk 3 cups cooked mashed pumpkin or...
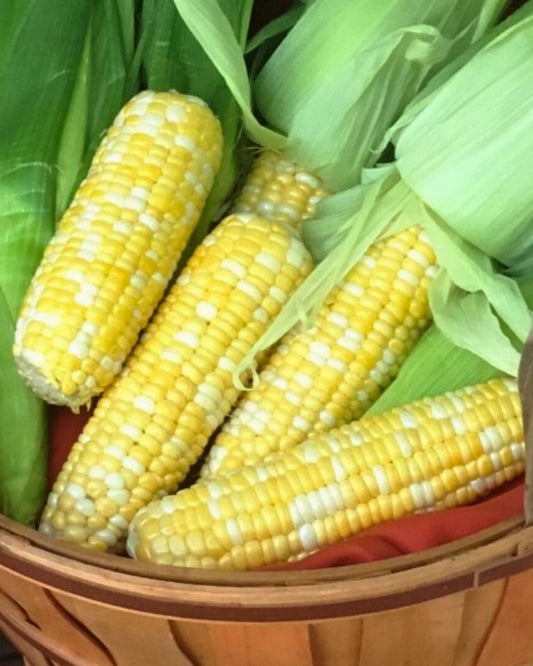
Fresh Tomato Corn Soup
The combined flavors of fresh sweet corn, tomatoes and herbs are unbeatable in this simple, light soup. 1 tablespoon butter 1 tablespoon extra virgin olive oil 11/2 cups chopped onions 2 pounds fresh tomatoes, peeled and coarsely chopped 11/2 tablespoons...
Fresh Tomato Corn Soup
The combined flavors of fresh sweet corn, tomatoes and herbs are unbeatable in this simple, light soup. 1 tablespoon butter 1 tablespoon extra virgin olive oil 11/2 cups chopped onions 2 pounds fresh tomatoes, peeled and coarsely chopped 11/2 tablespoons...
Tomato and Red Lentil Soup
Even though spring is clearly on its way, there are still a lot of chilly, windy days that call for enjoying some warming soup. Here is an unusual and delicious soup recipe from my newest cookbook.I originally served this soup...
Tomato and Red Lentil Soup
Even though spring is clearly on its way, there are still a lot of chilly, windy days that call for enjoying some warming soup. Here is an unusual and delicious soup recipe from my newest cookbook.I originally served this soup...
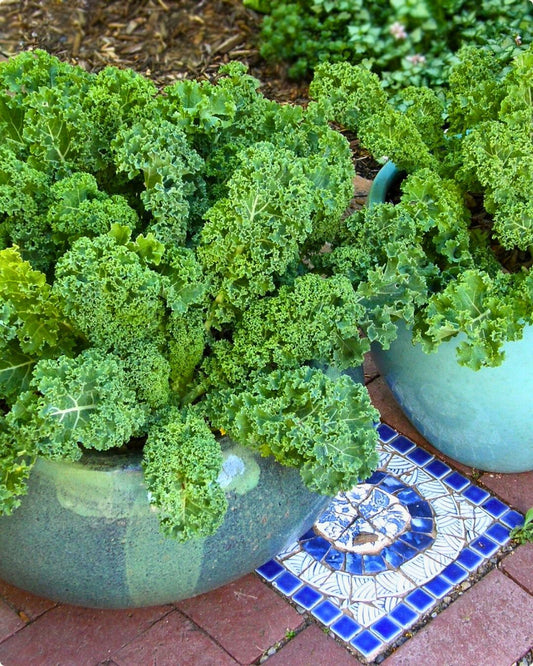
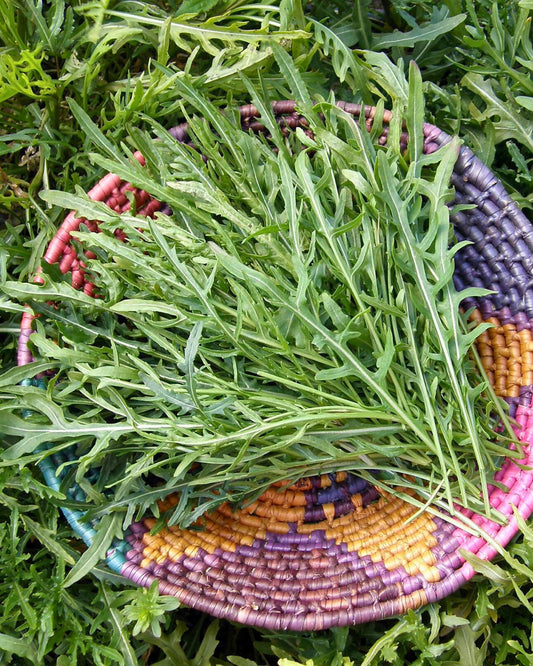
Fresh Kale Salad With Peanut And Lime Dressing
A surefire crowd pleaser! The lively dressing showcases nutritious, crunchy fresh kale in an especially tasty and colorful salad. A fine first course or appetizing lunch dish. 1 large bunch kale, center ribs removed, leaves cut into very thin ribbons...
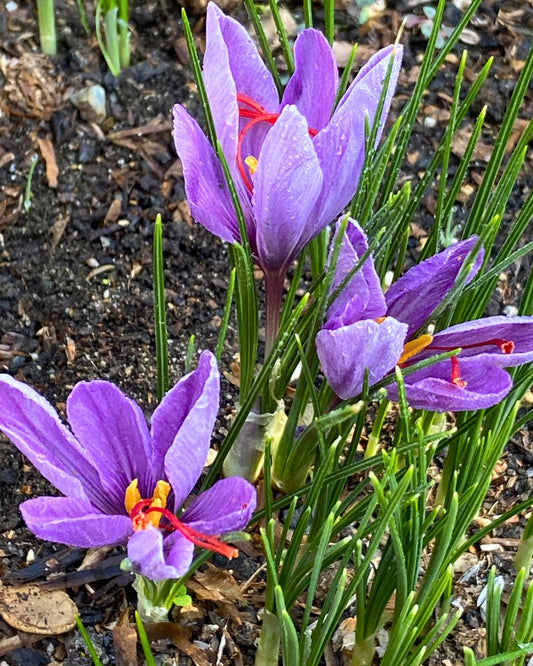
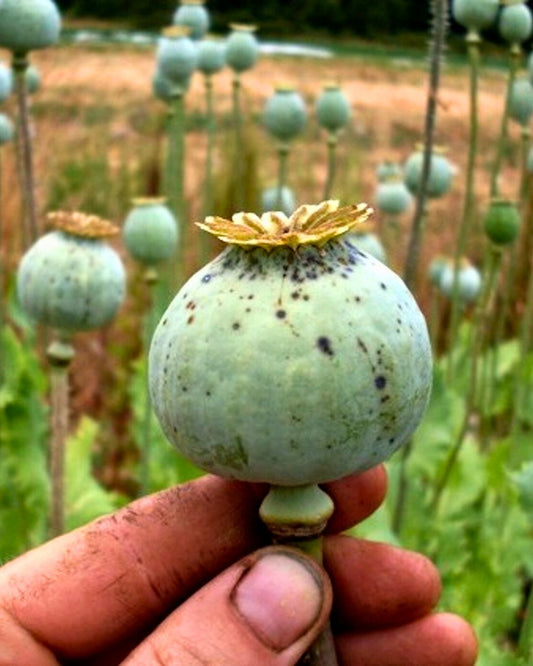
How To Grow and Harvest Saffron
Lindsay shows you how to plant, grow and harvest saffron, the world's most expensive spice! Easy to grow in the garden or containers, this fall blooming flower yields brilliant orange-red stigmas that are the source of the aromatic and exotic...
How To Grow and Harvest Saffron
Lindsay shows you how to plant, grow and harvest saffron, the world's most expensive spice! Easy to grow in the garden or containers, this fall blooming flower yields brilliant orange-red stigmas that are the source of the aromatic and exotic...
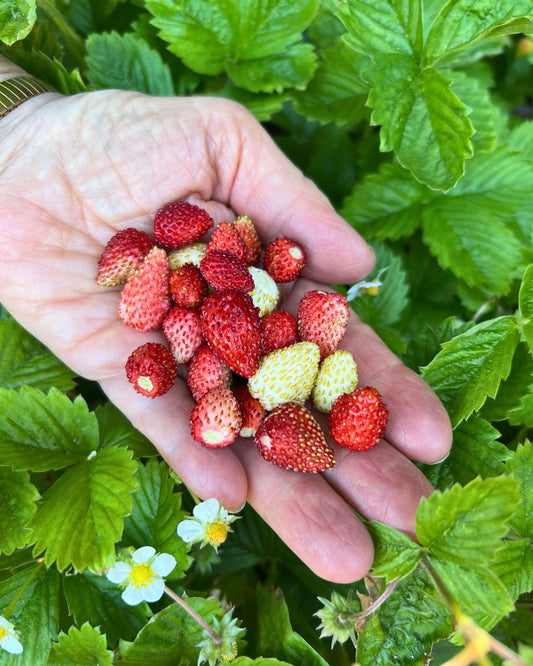
Growing Alpine Strawberries From Seed
Step-by-step instructions on how to start and grow petite Alpine strawberries from seed. You'll have lots of very attractive mounding perennial plants that yield scrumptious, jewel-like red little berries with exquisite sweet flavor all season, year after year.
Growing Alpine Strawberries From Seed
Step-by-step instructions on how to start and grow petite Alpine strawberries from seed. You'll have lots of very attractive mounding perennial plants that yield scrumptious, jewel-like red little berries with exquisite sweet flavor all season, year after year.
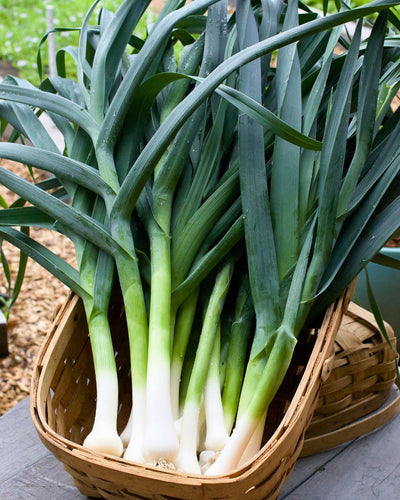
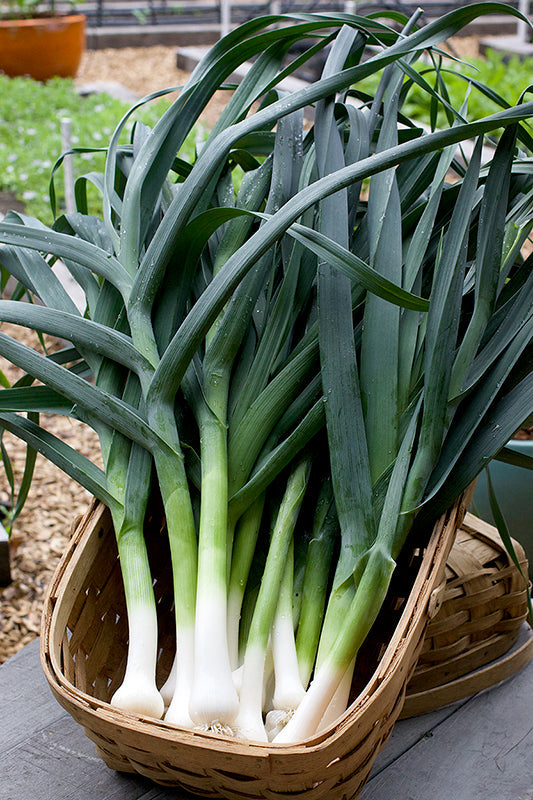
Growing Leeks From Seed
The best techniques for starting leeks from seed and transplanting seedlings properly. Follow Lindsay's directions to grow vigorous leeks into big, tall plants with tender and juicy white stalks, that can be harvested over a long period and enjoyed in...
Growing Leeks From Seed
The best techniques for starting leeks from seed and transplanting seedlings properly. Follow Lindsay's directions to grow vigorous leeks into big, tall plants with tender and juicy white stalks, that can be harvested over a long period and enjoyed in...

Grow Dahlias From Seed
Easily start dahlias from seed by either sowing directly into the garden (mild climates) or starting seeds early indoors for later transplant (cold winter climates). Lindsay shows you exactly how to use both methods and then how to prepare your...
Grow Dahlias From Seed
Easily start dahlias from seed by either sowing directly into the garden (mild climates) or starting seeds early indoors for later transplant (cold winter climates). Lindsay shows you exactly how to use both methods and then how to prepare your...
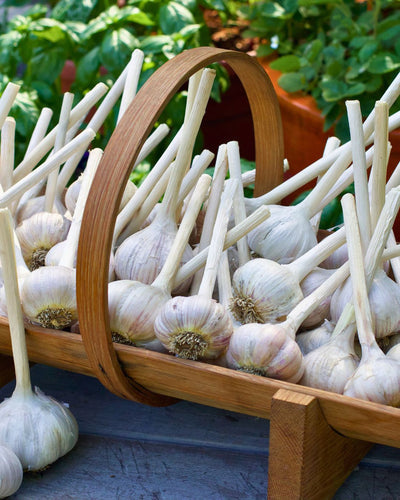
Plant, Grow and Harvest Great Garlic
Lindsay explains all the steps involved in planting, growing, and harvesting big, juicy heads of plump garlic cloves. She shows how to break up the planting garlic heads into individual cloves, prepare the garden bed, plant the cloves and how...
Plant, Grow and Harvest Great Garlic
Lindsay explains all the steps involved in planting, growing, and harvesting big, juicy heads of plump garlic cloves. She shows how to break up the planting garlic heads into individual cloves, prepare the garden bed, plant the cloves and how...
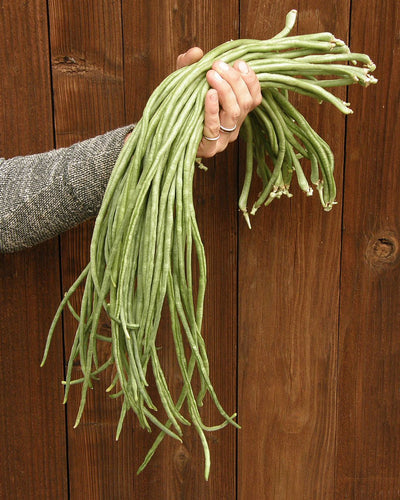
Growing Yard Long Noodle King Beans
Lindsay demos how to sow and grow our weather-tolerant Yard Long Asian bean variety 'Noodle King.' She shows you exactly how to train the vigorous vines to climb a trellis, where the climbing vines bear amazingly long, slender beans, so...
Growing Yard Long Noodle King Beans
Lindsay demos how to sow and grow our weather-tolerant Yard Long Asian bean variety 'Noodle King.' She shows you exactly how to train the vigorous vines to climb a trellis, where the climbing vines bear amazingly long, slender beans, so...
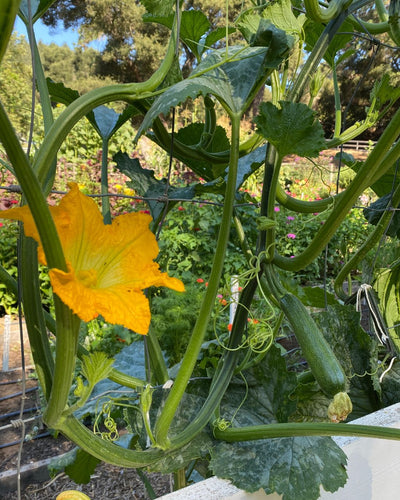
Growing Incredible Escalator Climbing Zucchini
How to sow, grow, and train these unique climbing squash vines up a trellis where they will produce an abundance of luscious, tender-fleshed zucchini. Climbing escalator vines yield abundant harvests of delicious deep green zucchinis you can find and pick...